- Aug 05
- By WhiteRachel
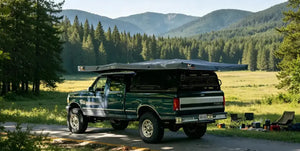
Building your "moving castle" with a rooftop tent is an exciting endeavor that promises countless adventures. However, for those new to the world of rooftop tents, the installation process can seem daunting. Fear not! This guide is here to walk you through the steps to successfully set up your rooftop tent and transform your vehicle into a cozy mobile abode.
1. Why choose a rooftop tent
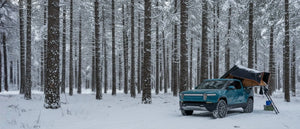
Imagine you are planning a long-distance self-driving trip across the Gobi Desert, or going to an alpine meadow to relax on the weekend. If you choose a traditional tent, you will see it tilted on rugged, gravel-strewn, or muddy ground after rain, which greatly reduces your outdoor tent experience.
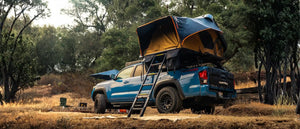
But if you have a rooftop tent, it means you have a mobile "house".
According to a survey by the Outdoor Sports Association in 2024, 81% of users gave up traditional tents and chose rooftop tents because of "wet ground and insects". At the same time, data research shows that the repurchase rate of Naturnest users is as high as 92%. Its core keywords are "off-the-ground sense of security" and "30-second opening and closing efficiency".
Rooftop tents have:
1. The convenience of "moving in with a bag":
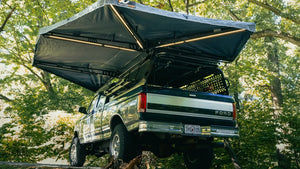
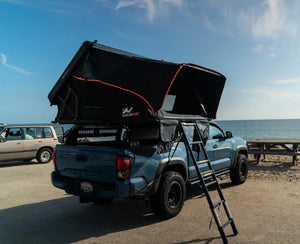
If you want to buy a rooftop tent, then what impresses you most should be its opening speed. Imagine that when you drive to the camp exhausted, or suddenly encounter bad weather and want to escape quickly, the rooftop tent only requires you to park the car, unzip, open the bracket, and put down the ladder to complete the construction of a dry, comfortable, off-the-ground shelter.
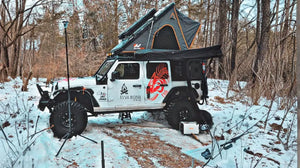
2. "High-up" sense of security:
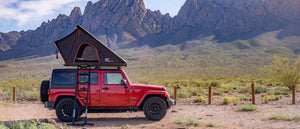
The rooftop tent is designed to be away from the ground, which also means away from damp, potential water accumulation areas, curious small animals, and the action areas of most reptiles. Especially in areas where bears are present, this sense of security off the ground is incomparable.
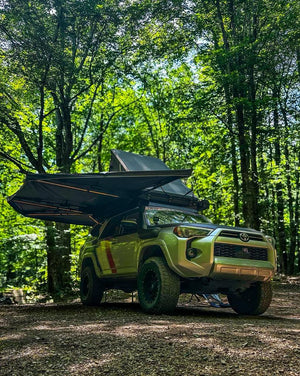
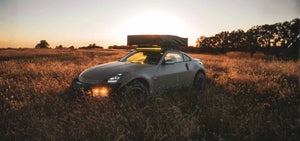
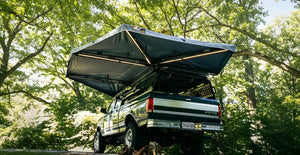
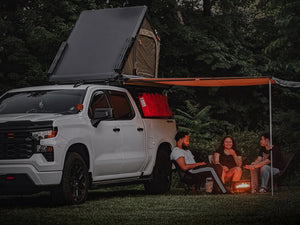
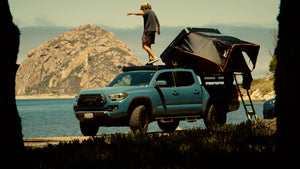
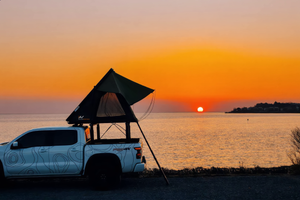
3. Enjoyment of "mobile viewing platform":
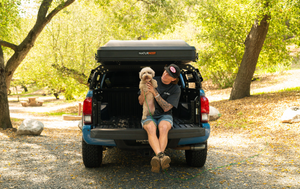
When you have a rooftop tent, you can open the curtains in the morning to welcome the unobstructed lake and mountain scenery, or the first ray of sunshine in the forest: close the tent at night and look out the skylight to spend a good night with the stars, and occasionally hear the rustling of small animals, and have a close contact with nature. This unique experience is difficult to achieve in other residences.
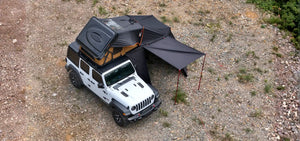
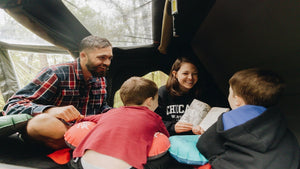
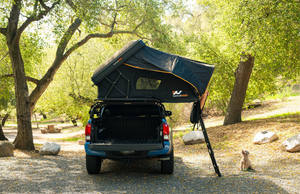
4. The comfort of "space magic":
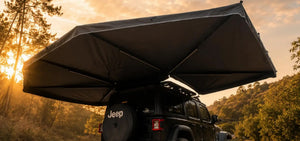
The current rooftop tents are no longer simple bunks and small in size. Today's rooftop tents have spacious interiors (some rooftop tents can already accommodate a family of three and a dog), comfortable mattresses (Naturnest rooftop tents are equipped with ergonomic memory mattresses), built-in LED lights (Naturnest's light strips are adjustable in three colors, which is more suitable for your preferences), and can be matched with expandable awnings (to create a personalized outdoor living room)... Rooftop tents are striving to become your real "castle in the air".
2. How to choose a rooftop tent
Before you get excited and prepare to buy a rooftop tent, please remember that choosing the right rooftop tent for you is the basis for starting a wonderful outdoor journey.
1. Fabric is important: the fabric material determines the service life and environmental adaptability of the rooftop tent
(1) Polyester fabric:
Its advantages are lightweight, not easy to stretch, and durable. This is also the material used by most tents on the market.
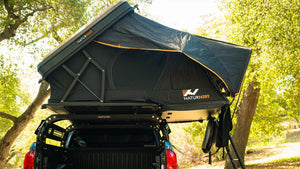
For example, the current Naturnest Sirius1. On the one hand, it is waterproofed by a high-density outer layer, and on the other hand, it uses inner layer nano silver ion weaving, with an antibacterial rate of up to 99.2%, which effectively eliminates the musty smell and allergens caused by moisture. It is lightweight, quick-drying, and waterproof. It can easily cope with sudden showers.
Suitable for: People who pursue lightweight, often participate in outdoor activities but have a relatively limited budget.

(2) Cotton canvas:
Its advantages are breathable, wear-resistant and classic. Even on hot summer nights, it is very comfortable. But it will become heavy after absorbing water, its waterproofness is average, and it takes a long time to dry (especially in a humid forest or after rain).
Suitable for: people who pursue classic texture, relatively dry climate, and do not pay attention to maintenance.
(3) Nylon:
Its fabric is extremely light and strong. Its characteristics are light, tear-resistant, and easy to dry. But it is easy to age and become brittle after long-term exposure to the sun, with a short service life and poor breathability.
Suitable for: people who are very pursuing lightweight (such as small car roofs) and short-distance travel.
2. The weight should be appropriate: The weight of the rooftop tent is related to your travel safet
Before you buy a rooftop tent, you need to consider clearly whether the rooftop tent you choose is a romantic cabin for two people or a family room that can accommodate children and pets.
Please choose the size of the tent according to the actual number of users! An overcrowded tent is not only crowded and uncomfortable, but also seriously overweight, which will endanger your driving safety.
So how do I choose a tent that suits me? This involves two key numbers:
Dynamic load: the maximum weight that the roof rack can bear when driving.
Static load: the maximum weight that the roof rack can bear when parking (usually much higher than the dynamic load, about 3 times higher). This means that the crossbar you choose must bear the weight of the tent + the number of people inside the tent.
Reference key values:
Vehicle static load ≥ tent weight + user weight
Vehicle dynamic load ≥ tent weight
For example, if you buy Sirius1, its tent weight is 155lbs, and the user weighs 174lbs, then you need to ensure that the load-bearing capacity of the roof crossbar is greater than 329lbs (155lbs + 174lbs) so that Sirius1 can be used.
3. You can choose the material: hard shell tent vs soft shell tent
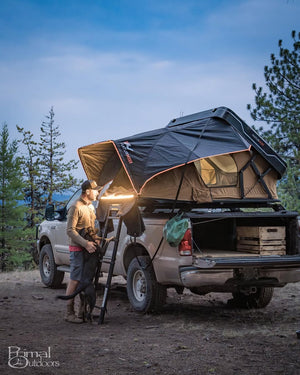
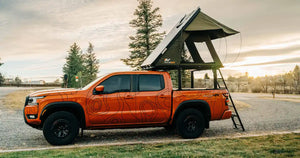
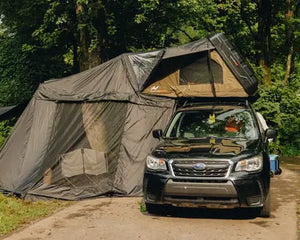
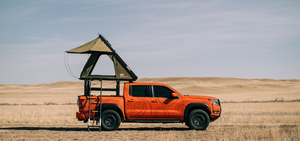
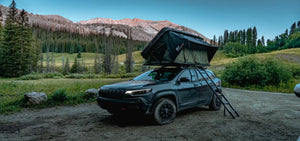
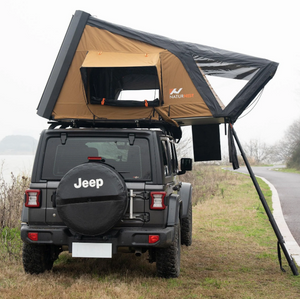
Softshell tent (foldable):
Usage scenario: limited budget, low requirements for construction speed, need a larger sleeping space (larger unfolded area), and can accept a slightly bloated roof shape.
Experience: It's like opening a huge folding map. It has good ventilation and is relatively large after storage. Wind noise is slightly obvious when driving, and fuel consumption will increase. It takes a few more minutes to set up and store (not recommended for use on cold mornings or windy days). The advantages are low price and good internal space.
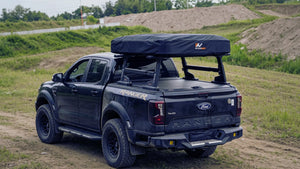
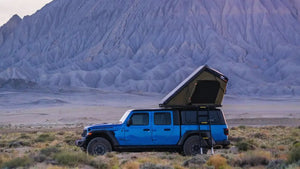
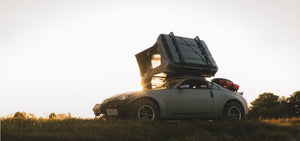
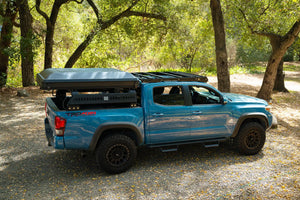
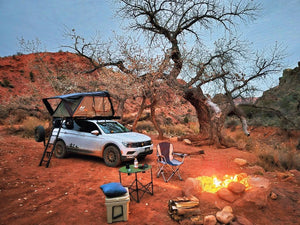
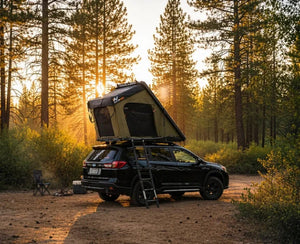
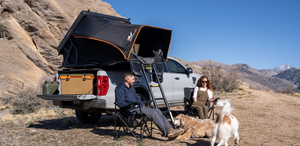
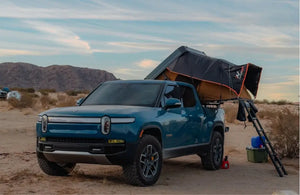
Hardshell tent (pop-up):
Usage scenario: sufficient budget, pursuit of convenience, beauty and service life, emphasis on low wind resistance and low fuel consumption, frequent camping, and hard-core style.
Experience: (Taking Naturnest Sirius1 as an example) It is equipped with a gas spring (hydraulic rod) to make the opening and closing of the roof tent so simple. The tent can be quickly formed at the moment of pushing it open, and the tent can be unfolded in a few seconds. The storage speed is also fast. At the same time, the water drop streamline shape of Sirius1 can significantly reduce wind noise and fuel consumption. Compared with similar products, the fuel consumption is reduced by 0.6L/100km at a speed of 120km/h (actual data).Not only that, the ABS shell of Sirius1 is UV-resistant and anti-aging, which also shows that the hard shell tent is more windproof and rainproof.
 4. The foundation is indispensable: Building the foundation crossbars
Please remember that the construction of the roof tent requires a solid "foundation"-roof racks or roof crossbars. This is a necessary prerequisite for the construction of the entire roof tent.
So before starting the installation, please check whether your "foundation" exists:
Is your roof an original longitudinal rail? Or a roofless model? Generally speaking, the original longitudinal rails usually need to be equipped with crossbars. Roofless models require a complete roof rack system (including tripods and crossbars).
At the same time, here are some contents about choosing crossbars that may help you:
(1) Types of crossbars:
Roof crossbars: The most basic roof tent installation accessories, only need to provide two lateral support points.
Suitable for: People who have camping needs, tents of moderate size, and low dynamic load requirements. Please make sure that the crossbar is long enough to support the tent floor and that the load-bearing capacity far exceeds the weight of your tent (please consider the dynamic load).
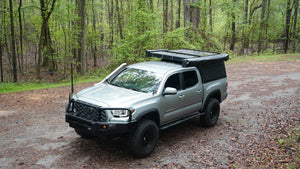
Complete luggage rack (platform type): Provide a stable platform for the roof.
Suitable for: People who frequently camp, use heavy or large tents, need to place additional equipment (kayaks, suitcases), and pursue optimal stability and weight dispersion (friendly to static load). It is more recommended for users of hard-shell tents and large soft-shell tents.
(2) Material of crossbar:
Aluminum alloy: Lightweight, strong, corrosion-resistant, and relatively low wind noise. It is the first choice for crossbars for building roof tents, especially for dynamic load and fuel consumption.
Steel: Heavy, but relatively cheap, the material has the risk of rusting, and the wind noise is large. It can be considered when the budget is limited and the vehicle load capacity is sufficient, but it is not recommended.
3. How to install a roof tent
Congratulations on successfully reading this chapter and coming to the most anticipated installation link.
Please note that strictly following the instructions is the only guarantee to ensure safe installation.

1. Unboxing:
OK, now you have received a rooftop tent, don't rush to install it! Please place the rooftop tent in a bright and spacious place (such as a garage or yard), then spread out the instructions, and check the accessories that come with the rooftop tent one by one according to the accessories list (instructions).
2. Preparation:
First, prepare all the tools required by the instructions (usually including bolts, nuts, wrenches, mounting brackets, etc.). Note that the torque wrench is particularly important, which can ensure that the screws are not loose or too tight, and the rooftop tent is properly fixed. You can also prepare gloves to protect your hands.
3. Confirm the foundation:
Confirm again that your roof rack/crossbar is firmly installed and the load-bearing capacity fully meets the requirements. You can try to shake it by hand to check if there is any abnormal sound or looseness.
4. Start installation:
Most rooftop tents require special rails to be installed on the crossbars or luggage racks first. After accurately measuring the data, align the crossbars horizontally! Then fix the crossbars according to the instructions.
5. Carrying the tent:
It is recommended that more than two people work together for the first time. Since the rooftop tent is a large item, a good helper is very important. When you lift the heavy tent (a hard shell tent may be more than 150 lbs!), please carefully align it with the rail. Then slowly lower it to ensure that it can be installed later.
6. Lock the tent:
This is the most critical step! Please use the special bolts/clips provided by the tent and the matching installation accessories to fix the tent base to the rail. You can use a torque wrench for this step (which will save you a lot of effort). After tightening, you can mark the screw position (with a paint pen or tape) to facilitate future inspections to see if the rooftop tent is loose.
7. The last step:
Install the ladder (make sure the locking position is reliable), open the corresponding poles (to fully expand the tent), and check whether all zippers and screens are in place. Then you can start an unforgettable and enjoyable camping trip.
Seeing this, you may ask: Is it easy to install a rooftop tent?
In fact, it depends on the type of tent you choose, your hands-on ability, and whether there is someone to help.
The physical installation of a hard-shell tent (lifting it onto the roof and fixing it) may be more laborious, but it is extremely easy to open and close it daily. A soft-shell tent is relatively light to install, but it has a few more steps to set up, and it takes a little more time to open and close it daily.
At the same time, please be patient and strictly follow the instructions, which is the key to ensuring safety and success.
It is recommended to reserve enough time (2-4 hours) for the first installation, find a helper, and do a short test drive and simulated camping after installation to check all fastening accessories.
After you are proficient in these steps, setting up a tent will become a breeze.

At the end of the article, you have successfully learned the key steps of how to set up a rooftop tent. Which chapters are helpful to you? You are very welcome to leave me a message on the Naturnest official website: naturnest.com. Maybe the next blog post will be tailor-made for your doubts!